The Precision E2203 is a Surface Vertical Rod exit device with a solenoid in the head that controls the outside lever trim. Ordered complete with trim: part number is E2203 × 4908A, specify door width, finish, handing, fail safe or fail secure. The right thing to do is to order it fail safe or fail secure and handed at the factory for your application.
But… let’s say for the sake of this article that you ordered the device and did not specify handing or fail safe / fail secure. You might find yourself needing to field reverse the handing. Here is what you need to know.
Handing
Changing the hand on the basic 2200 device is not very difficult, but changing the hand on the E2200 is fairly difficult, and requires skill, patience and … tape.
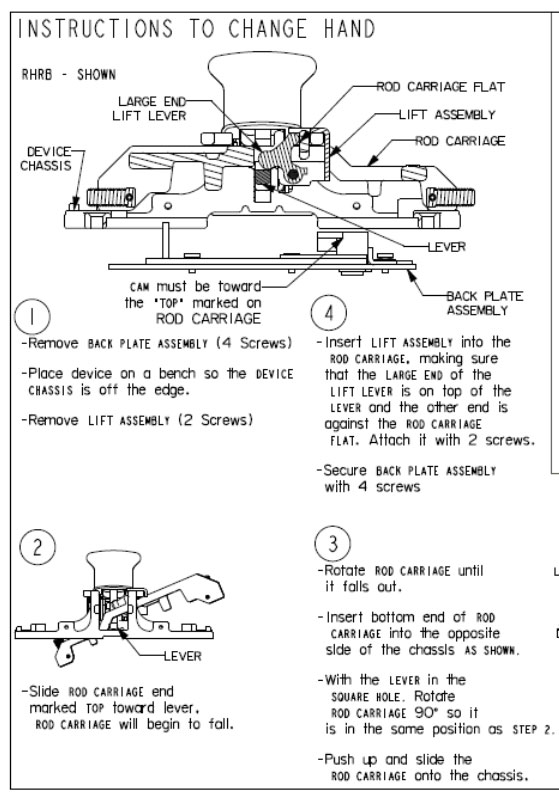
For the non-electric, purely mechanical version of this device, changing the hand is not as simple as it is with some other exit devices, for example, flipping the device over, but it is not all that hard to do. Below are the directions for field handing excerpted from the 2200 Series installation instructions from the Stanley Precision web site. Why they have arranged the steps to be followed in counterclockwise order is a mystery to me, but I am not here to judge, just inform.
At a glance you can see that there is some disassembly of the exit device head required to change the handing of the device. But when you add electrified trim control it complicates things a bit.
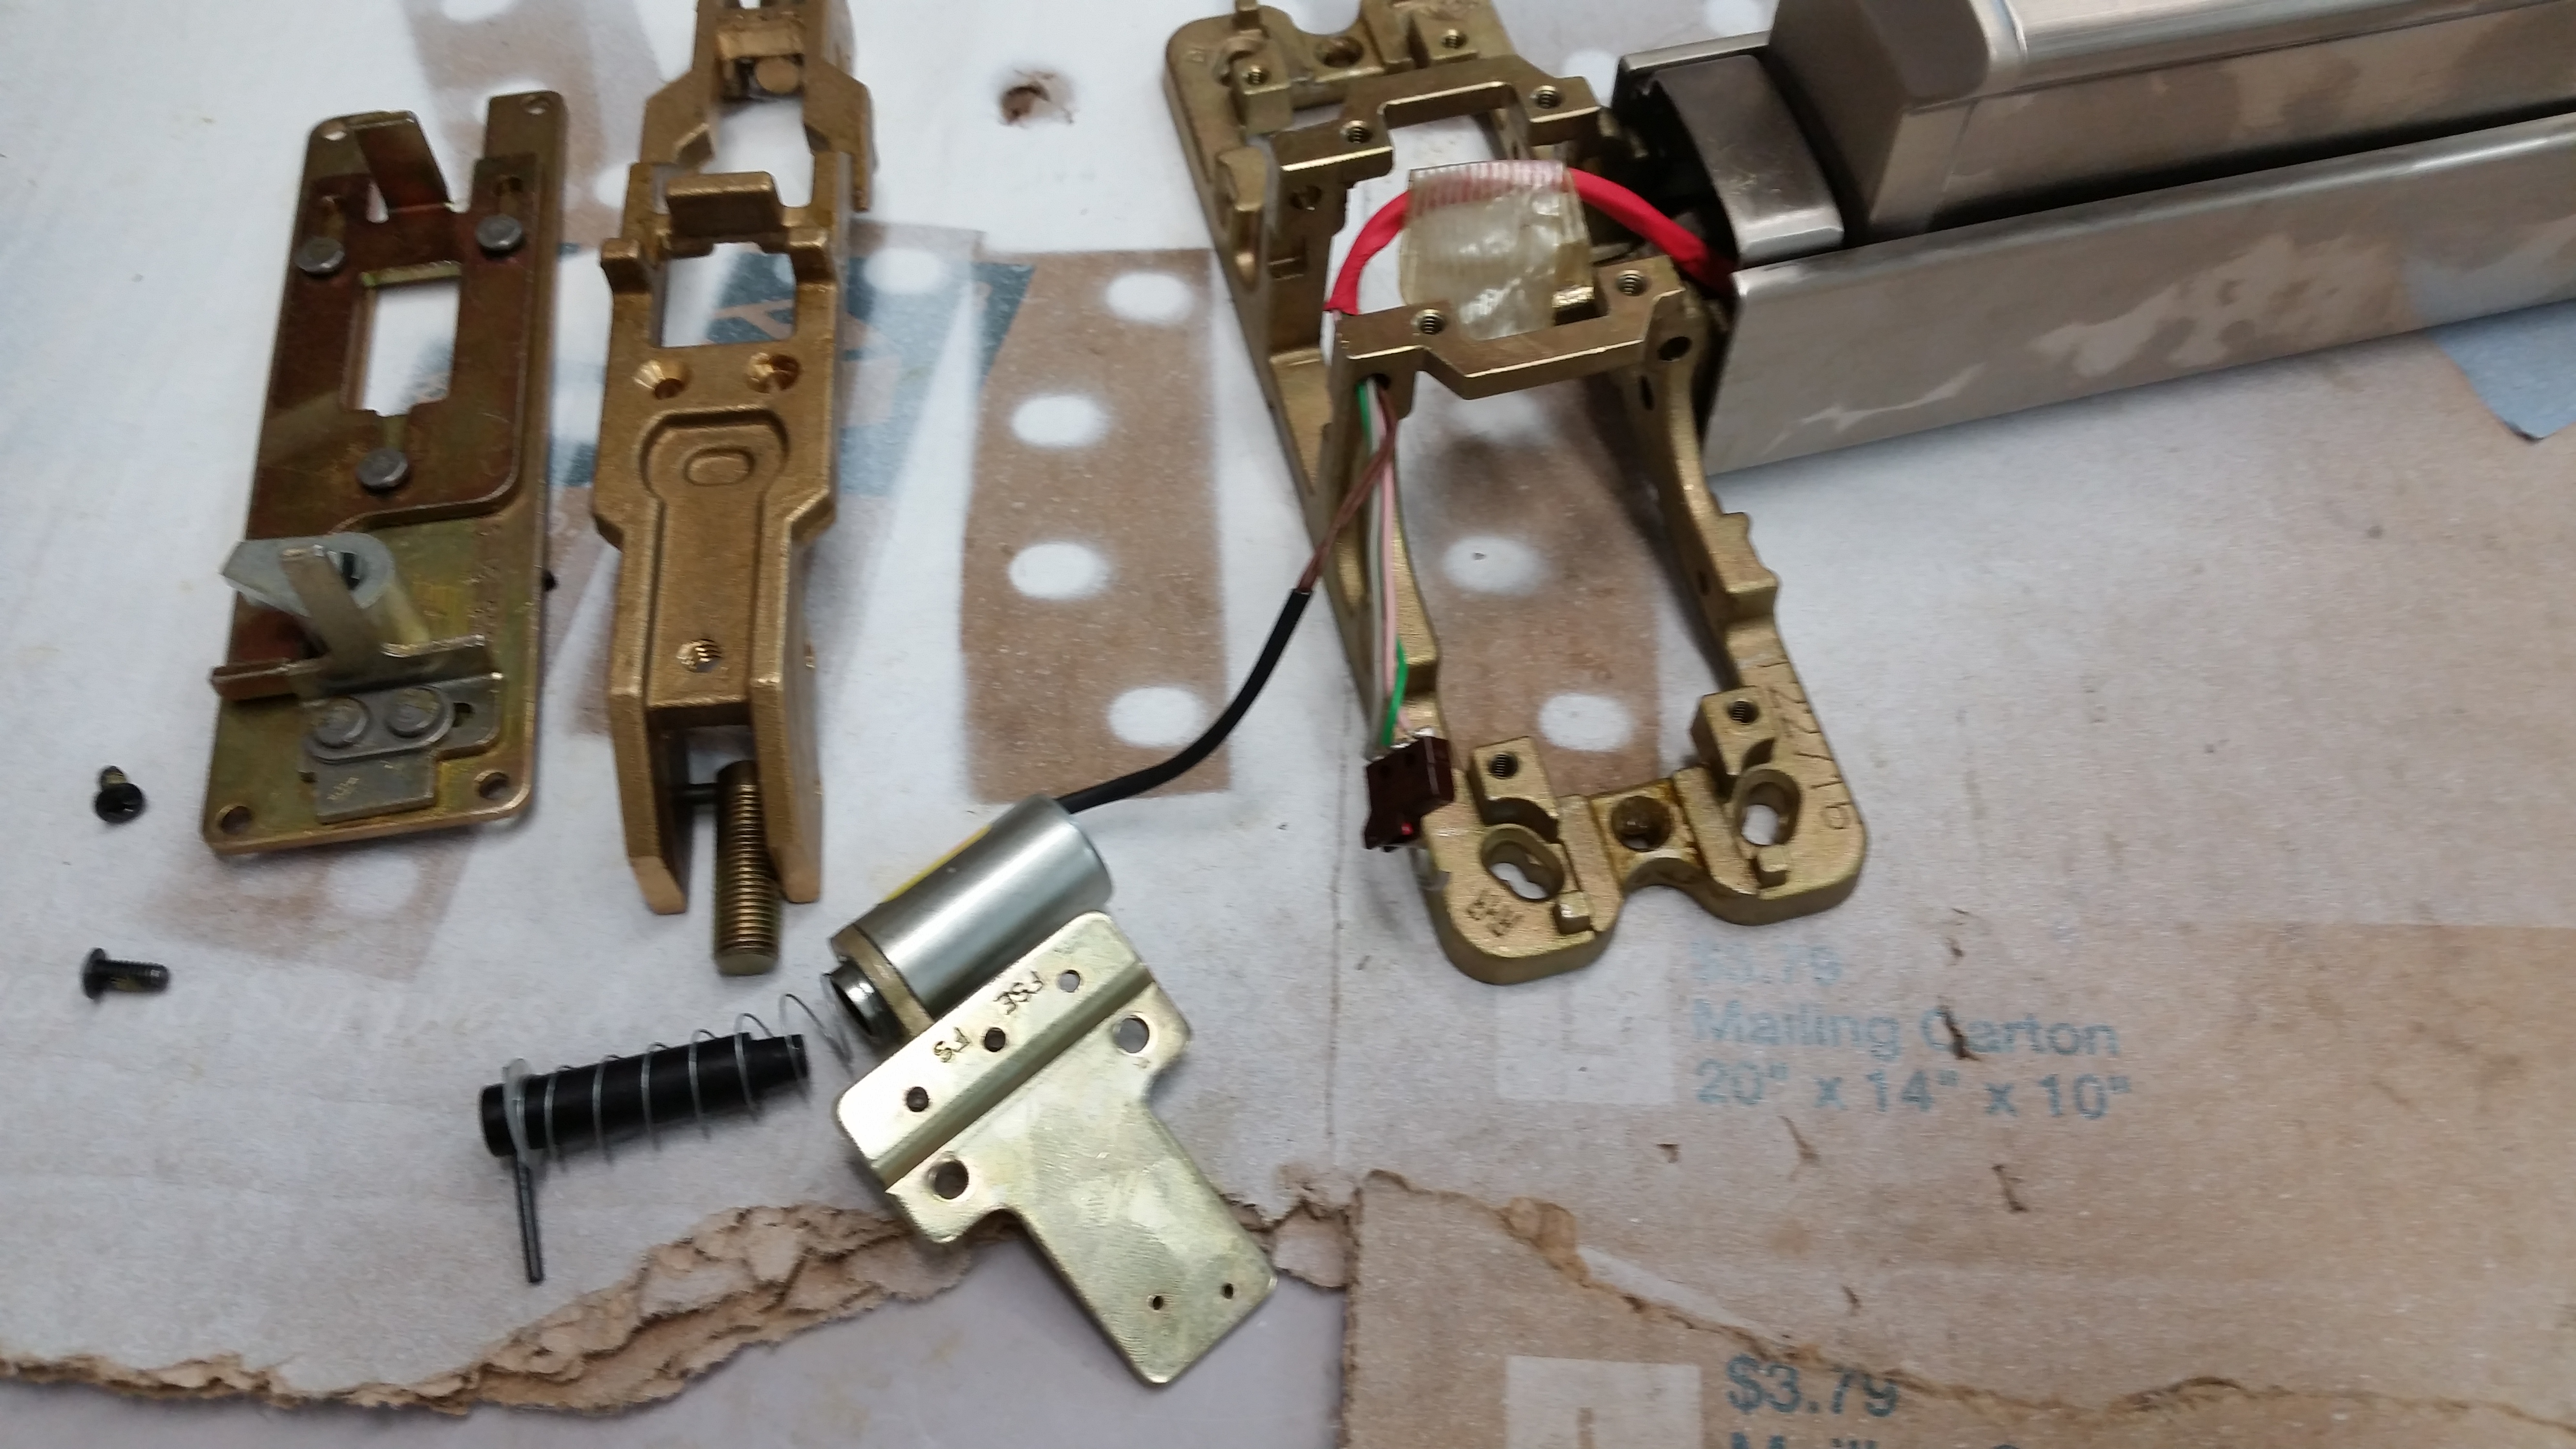
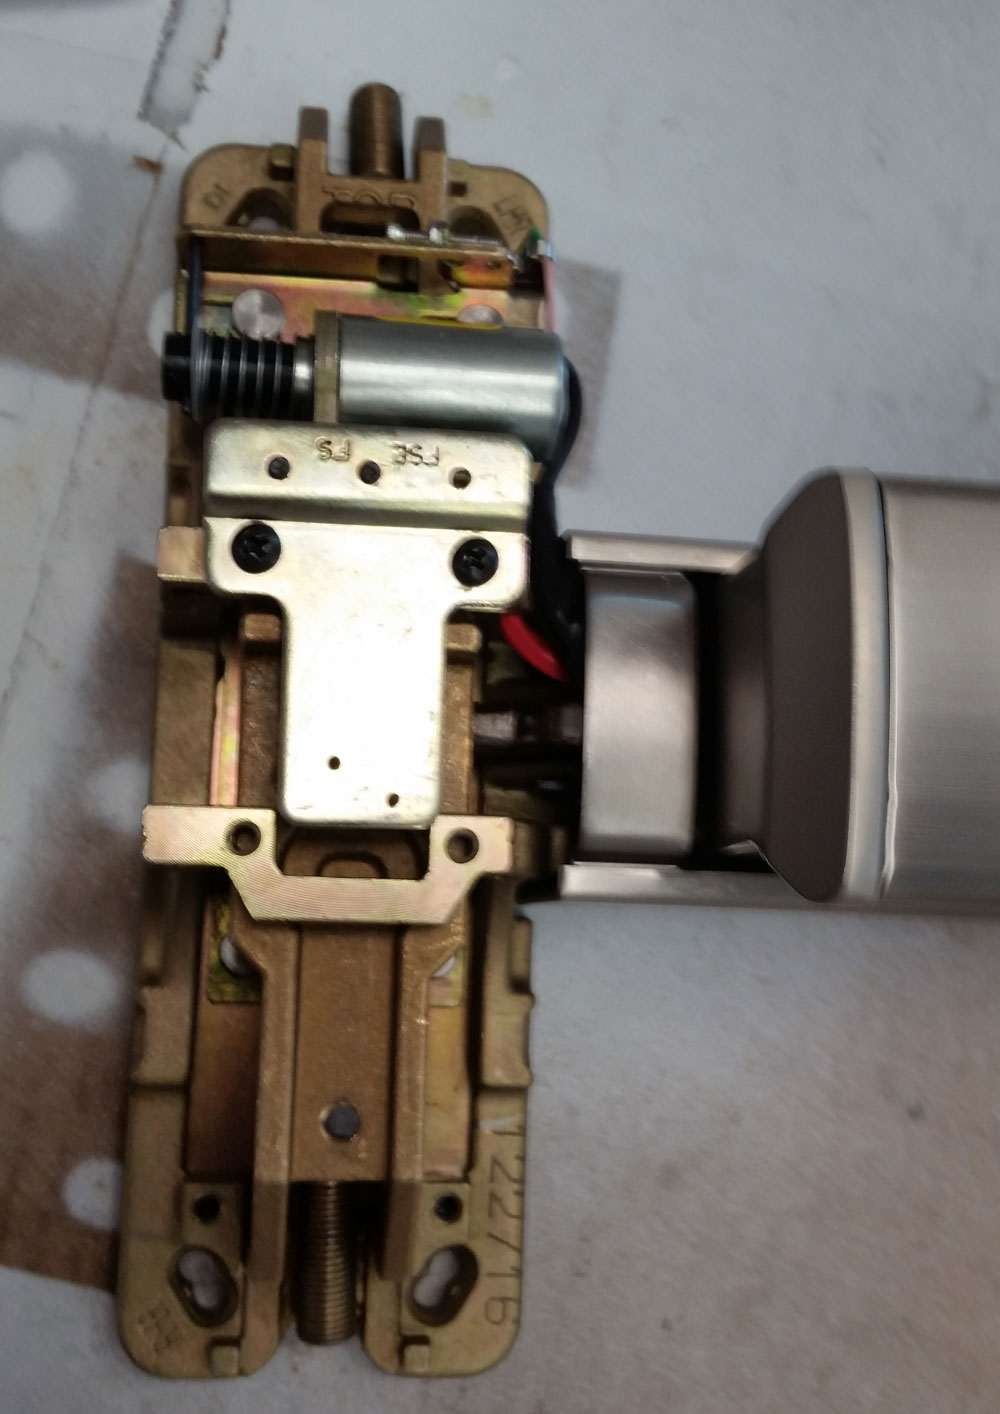
In the photo below you see the wires for the solenoid where they pass through the hole in the bracket. That bracket is an integral part of the active head and it does not move. However, the solenoid must be installed at the other end of the active head in order to interface with the working parts of the device and the wires are just long enough to allow it to be installed where it is. There is no play in the wire that would allow the wire to remain where it is and yet allow one to move the solenoid.
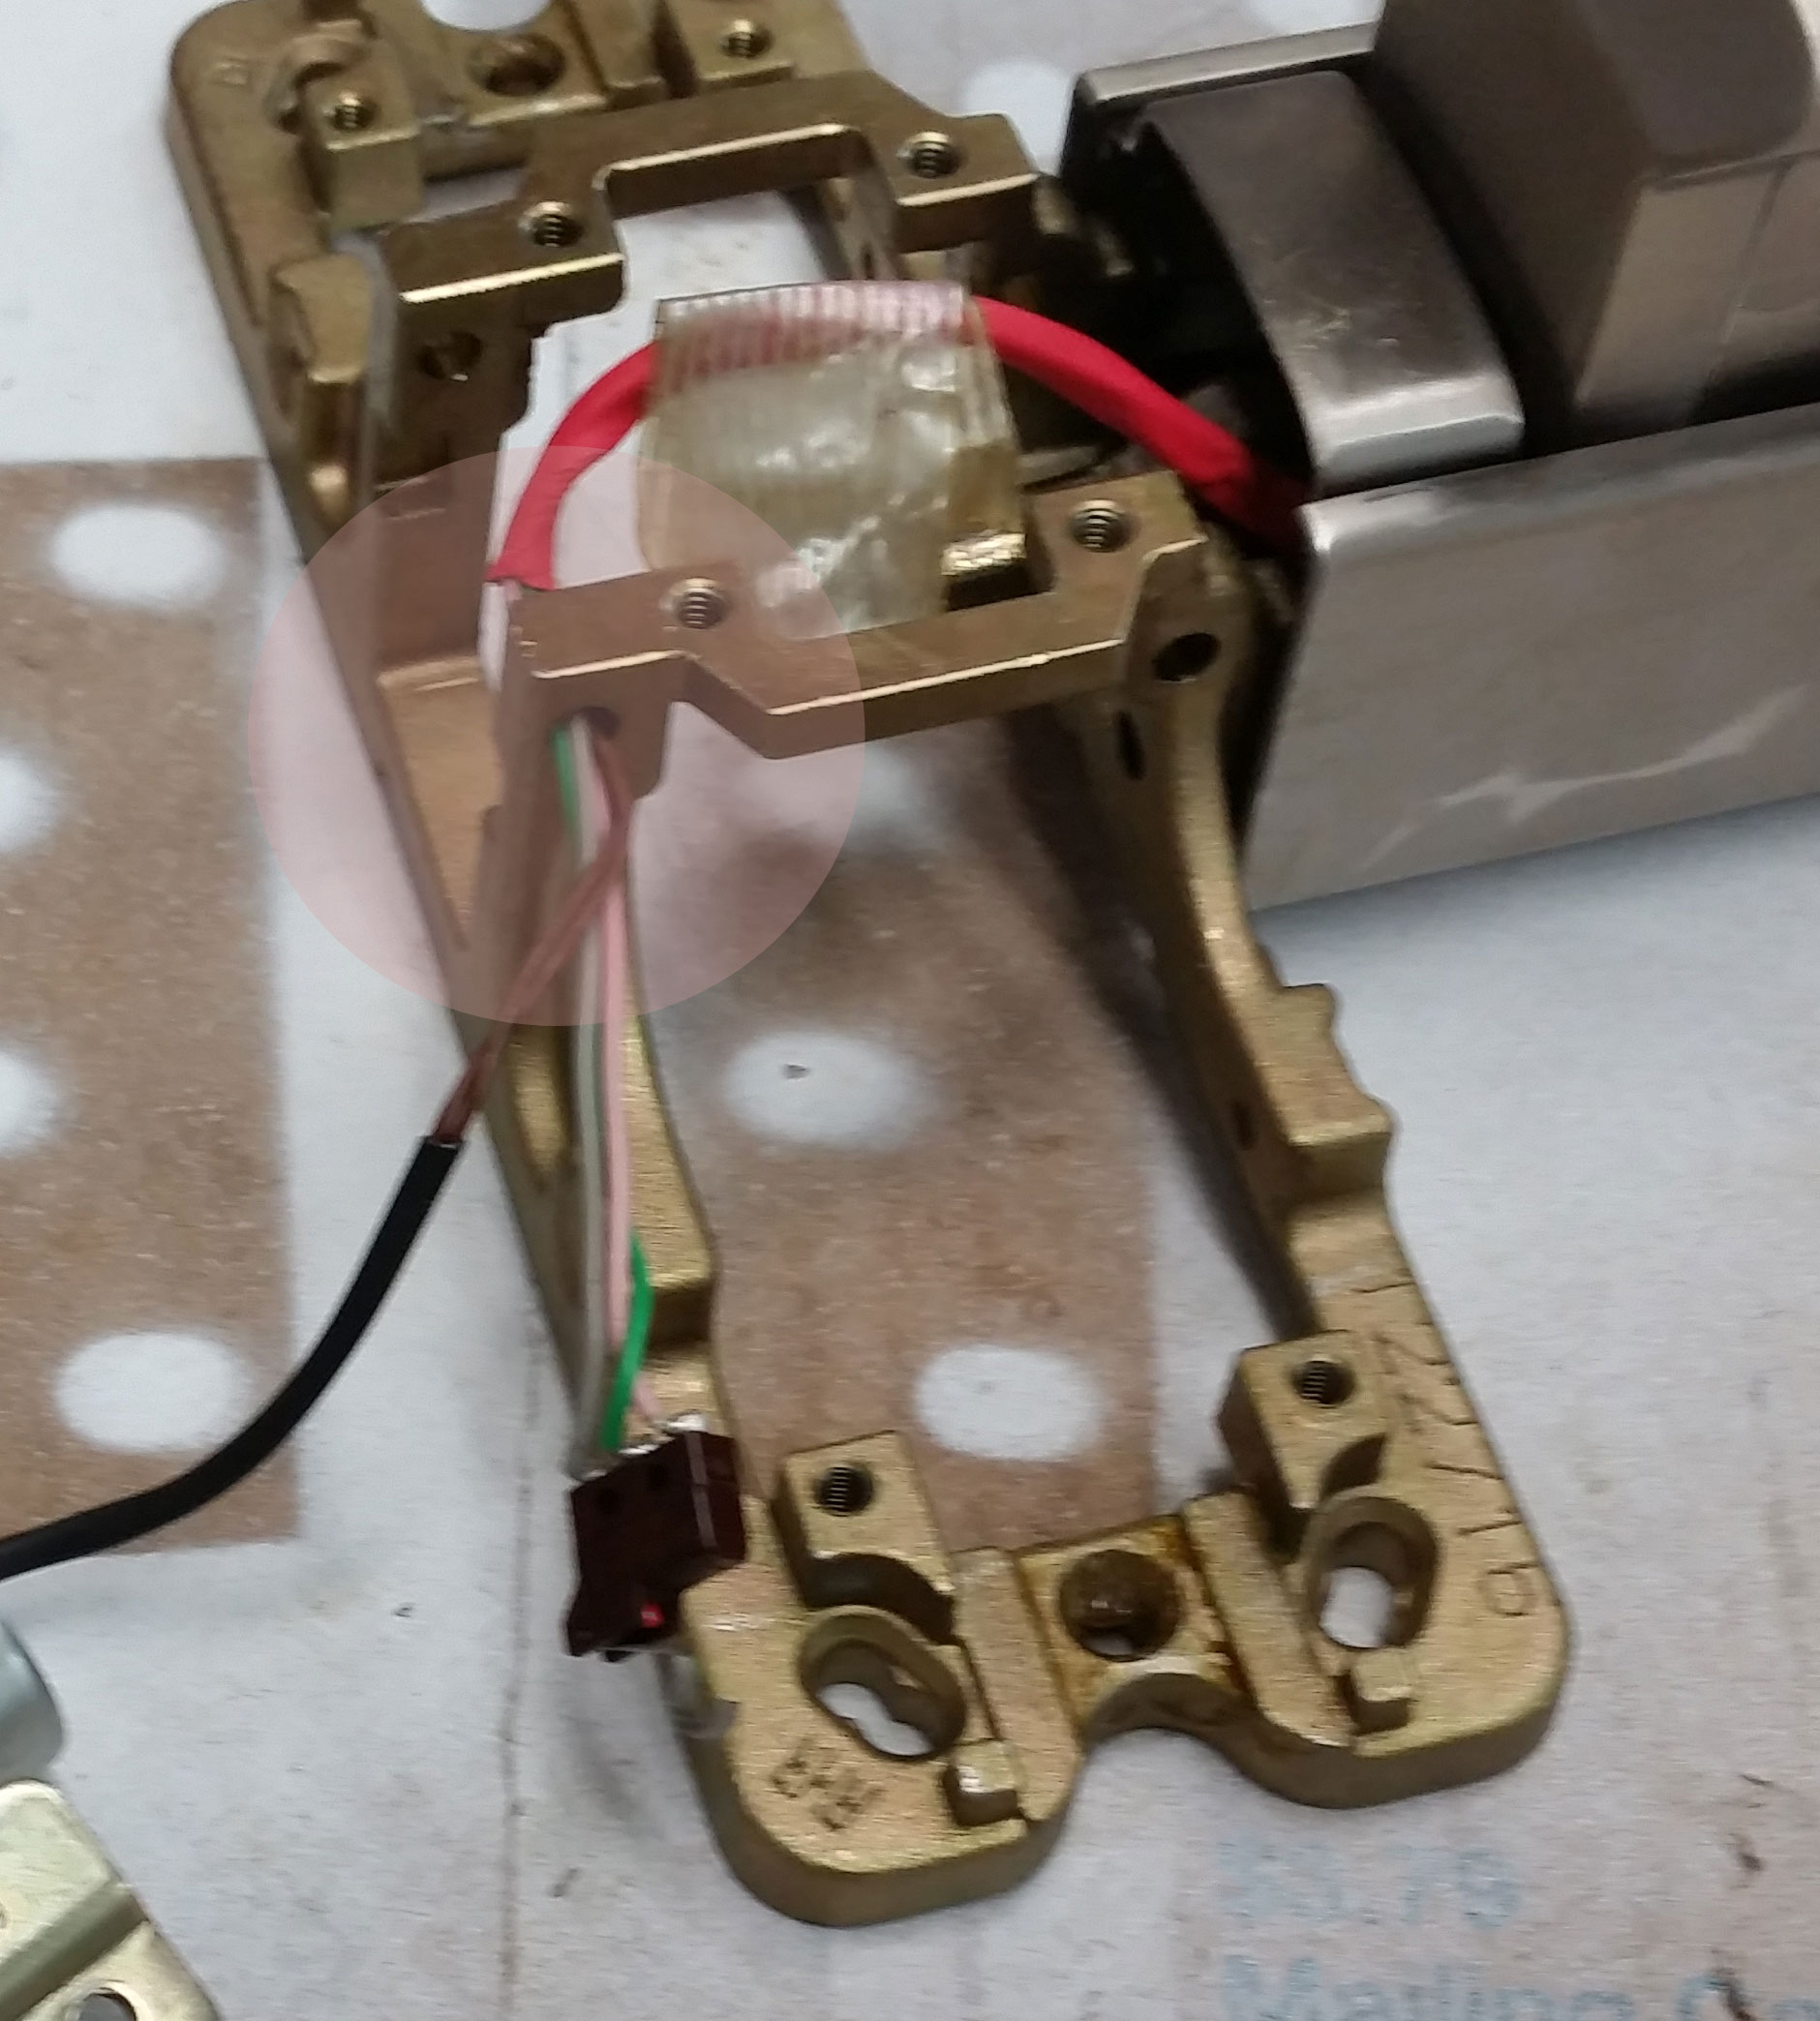
In order to move the solenoid to the other side of the active head, one must either cut the wires (a nightmare, do not do it) or to completely disassemble the exit device, bar and all.
Why do you have to completely disassemble the exit device to pull the wire through? Because it is taped to the baseplate of with a piece of filament tape that runs the length of the bar. The tape must be removed to free the wire so you can pull it out through the hole in the bracket.
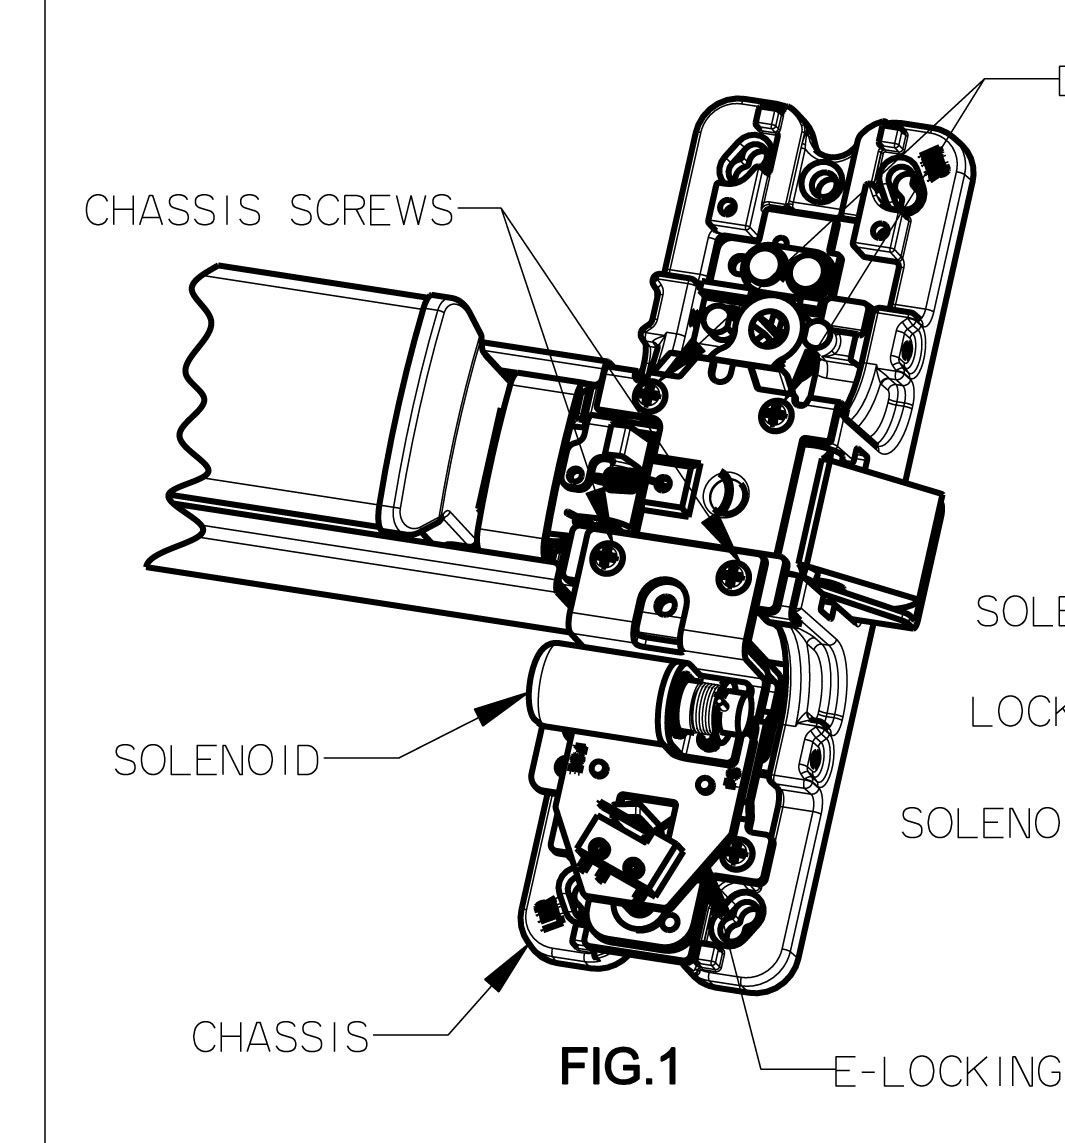
I could not find the directions for changing the hand of the E2203, but here is a drawing of the solenoid placement for the E2103 rim exit device taken from the installation instructions from the E2103 Kit.
Once you have pulled the wire through the hole, changed the hand of the head, taped the wire back down the length of the bar baseplate and reassembled the device, you’re done.
Below is a picture of the E2203 with handing freshly changed and the device reassembled and ready to install.
Like I said: order it fail safe or fail secure… AND ORDER IT HANDED.

Your source for quality security products with superior service!
access control, builders hardware, door hardware, electric locking, exit device, life safety, panic hardware, security hardware

{ Comments are closed! }