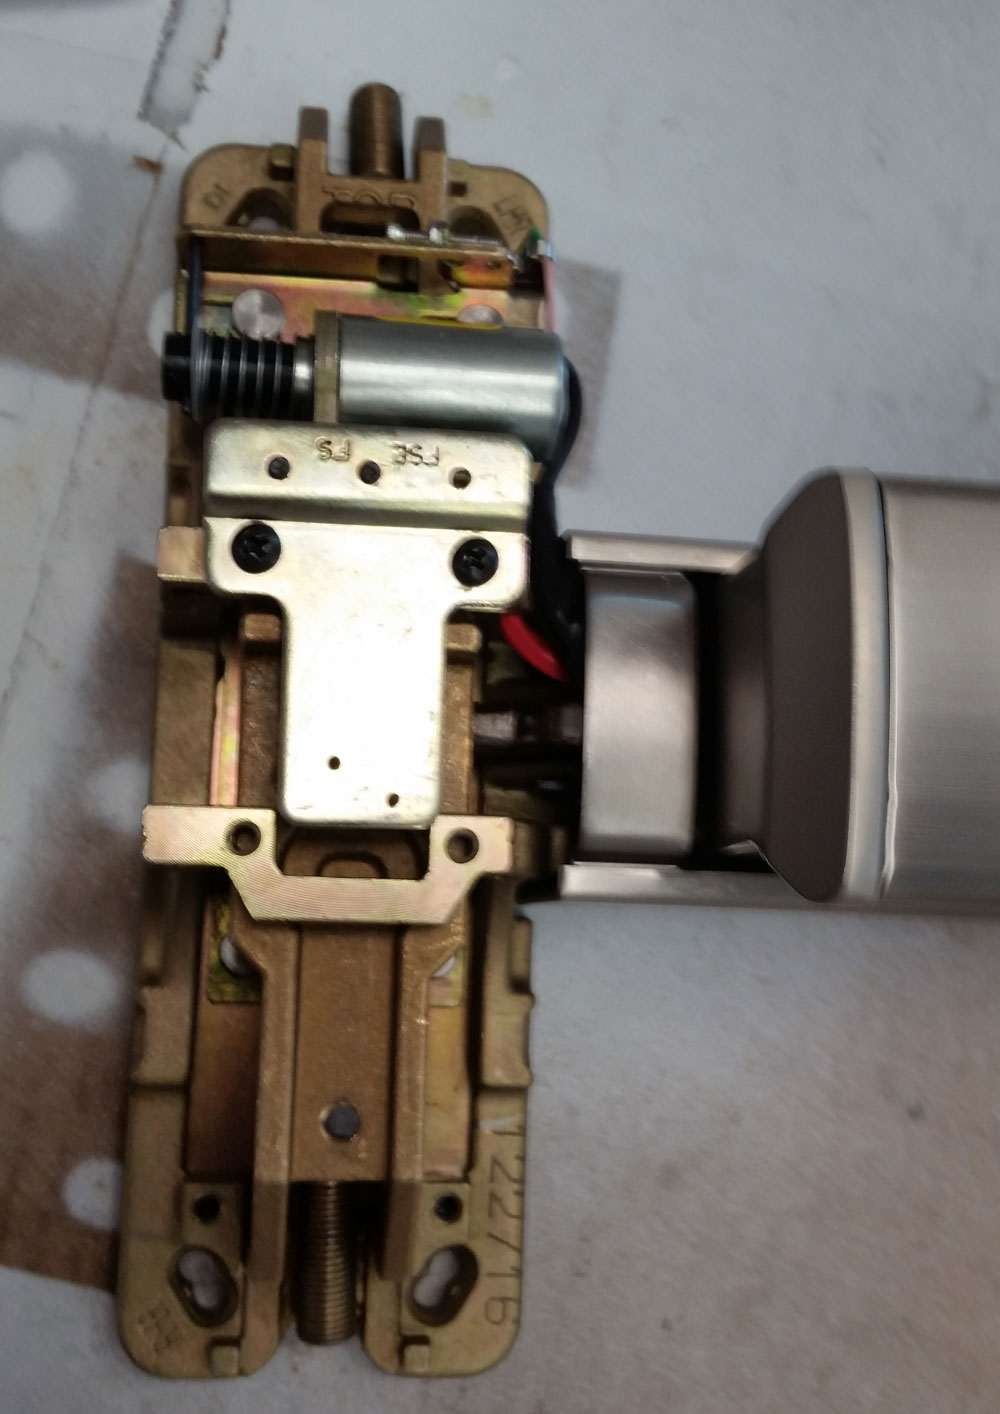
You are currently browsing the Door Hardware Genius posts tagged: panic hardware


Exit Device Retrofitting Adventures

Monarch model 18

As door hardware evolves, new products emerge to replace older products. This may happen because of a design improvement, or because a company changes ownership, but in either case it means that there are older products in the field for which there are no exact replacements. Any door hardware product may become obsolete over time. Today we are talking about exit devices.
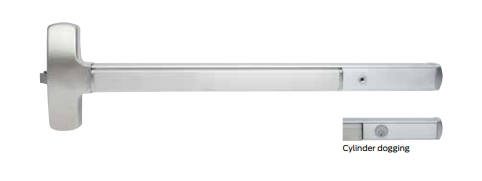
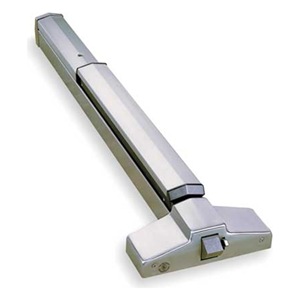
Falcon Model 25

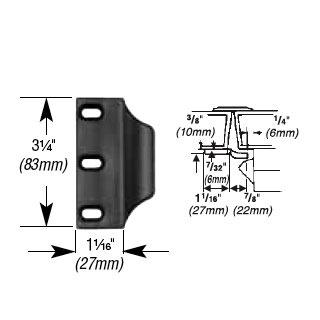
In the mid-Twentieth Century mass production of doors was standardized so that the mortise pocket within a door that houses the mortise lock would always be the same size. Before this standardization mortise locks were available in a wide variety of sizes, but from this time forward all architectural grade lock fronts would be eight inches tall by one-and-a-quarter inches wide. Of course this affected mortise exit devices. So when I went to replace a Von Duprin 8875 mortise exit device manufactured sometime between 1897 and 1920, I found that the mortise pocket was only about six inches tall and I had a bit of cutting to do to make the new device fit.

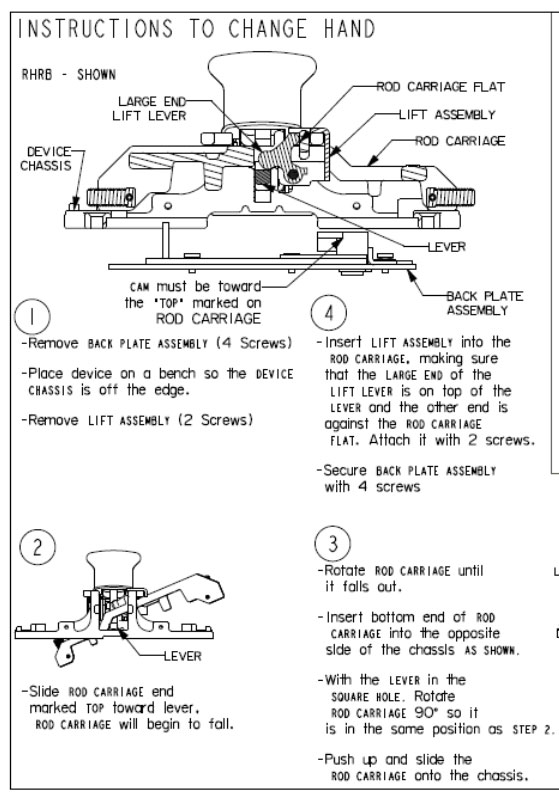
Companies pay varying attention to the ‘retrofit-ability’ of their products. Some companies make it easy to replace an old device with a new one, and some do not. As an installer it is easy to find oneself marooned out in the field, having identified an exit device by its appearance for the purpose of providing an estimate to replace it, only to find out during installation that it is the old version, and installing the new version is either going to be a lot of extra work, or extra hardware that was not on the estimate.

For example, in the late 1990’s Von Duprin redesigned their narrow stile 33 and 35 series exit devices. The rails remained the same, but the heads were completely changed. The old version did not accept a rim cylinder tail piece, and the new one does. This means the old outside trim will by no means work with the new device – a potentially expensive problem if not anticipated.

Similarly the Precision 2000 series Apex devices are not backwards compatible with the old 1000 series trims.

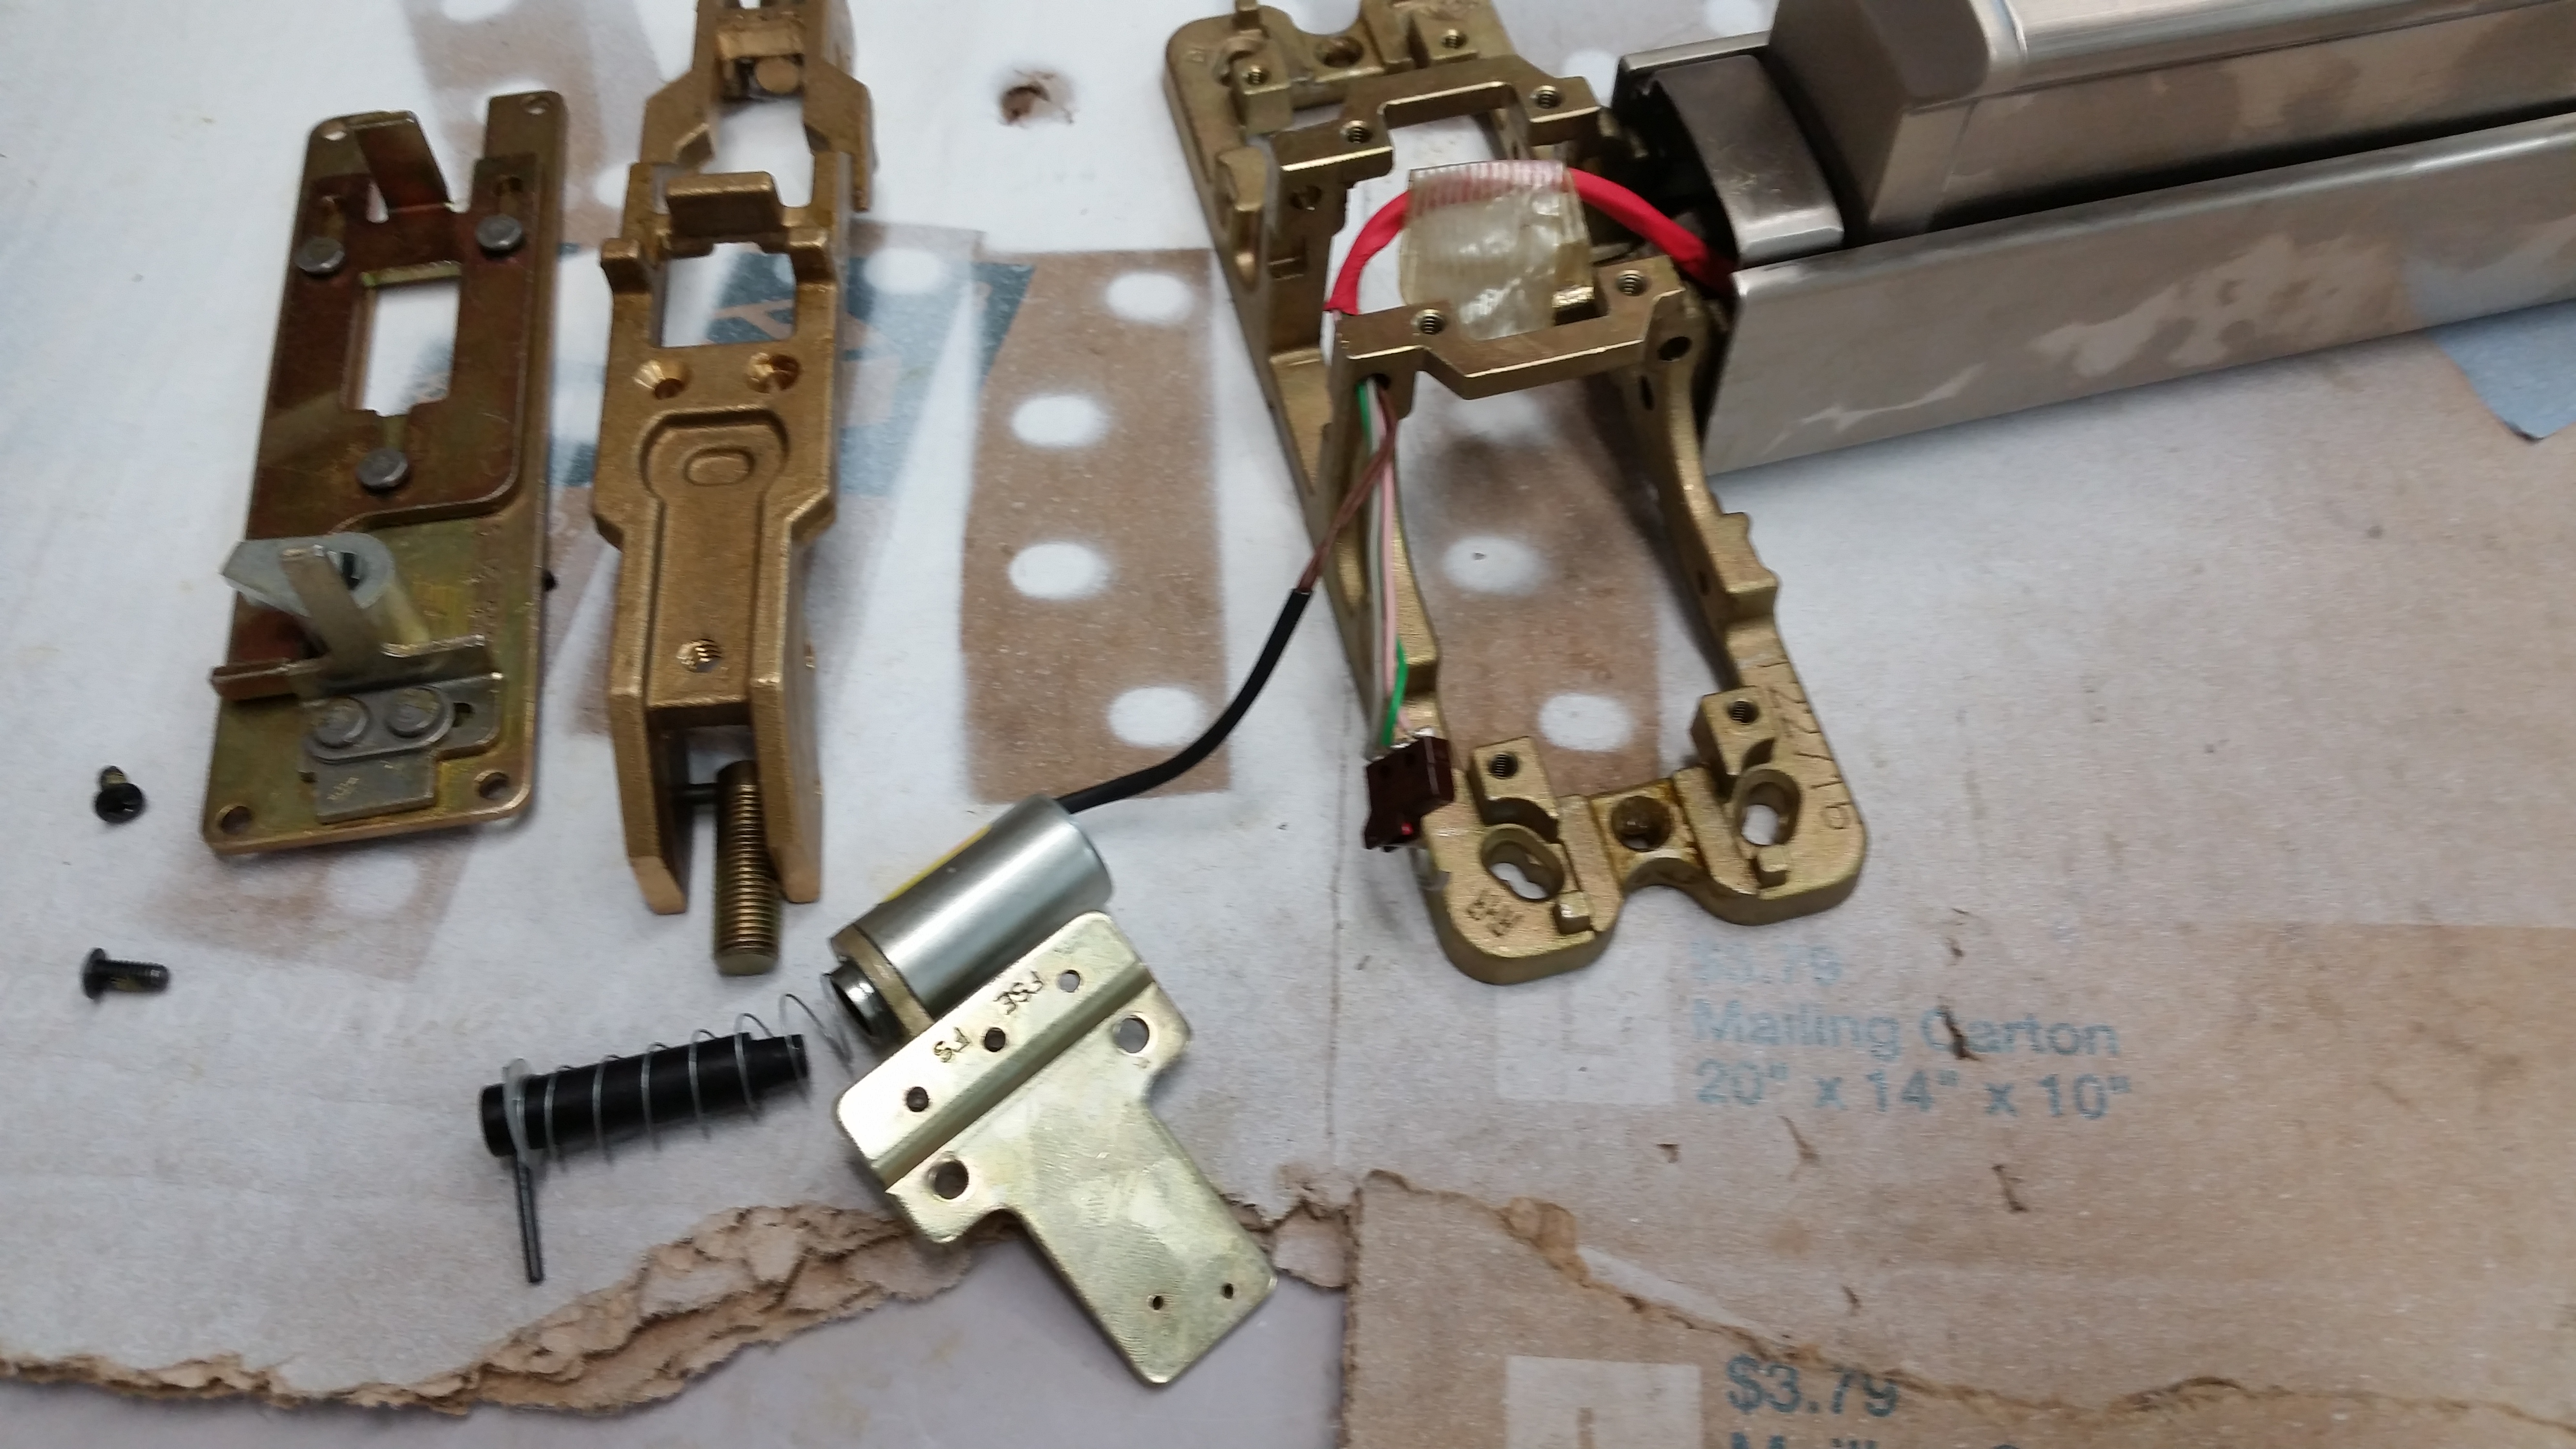
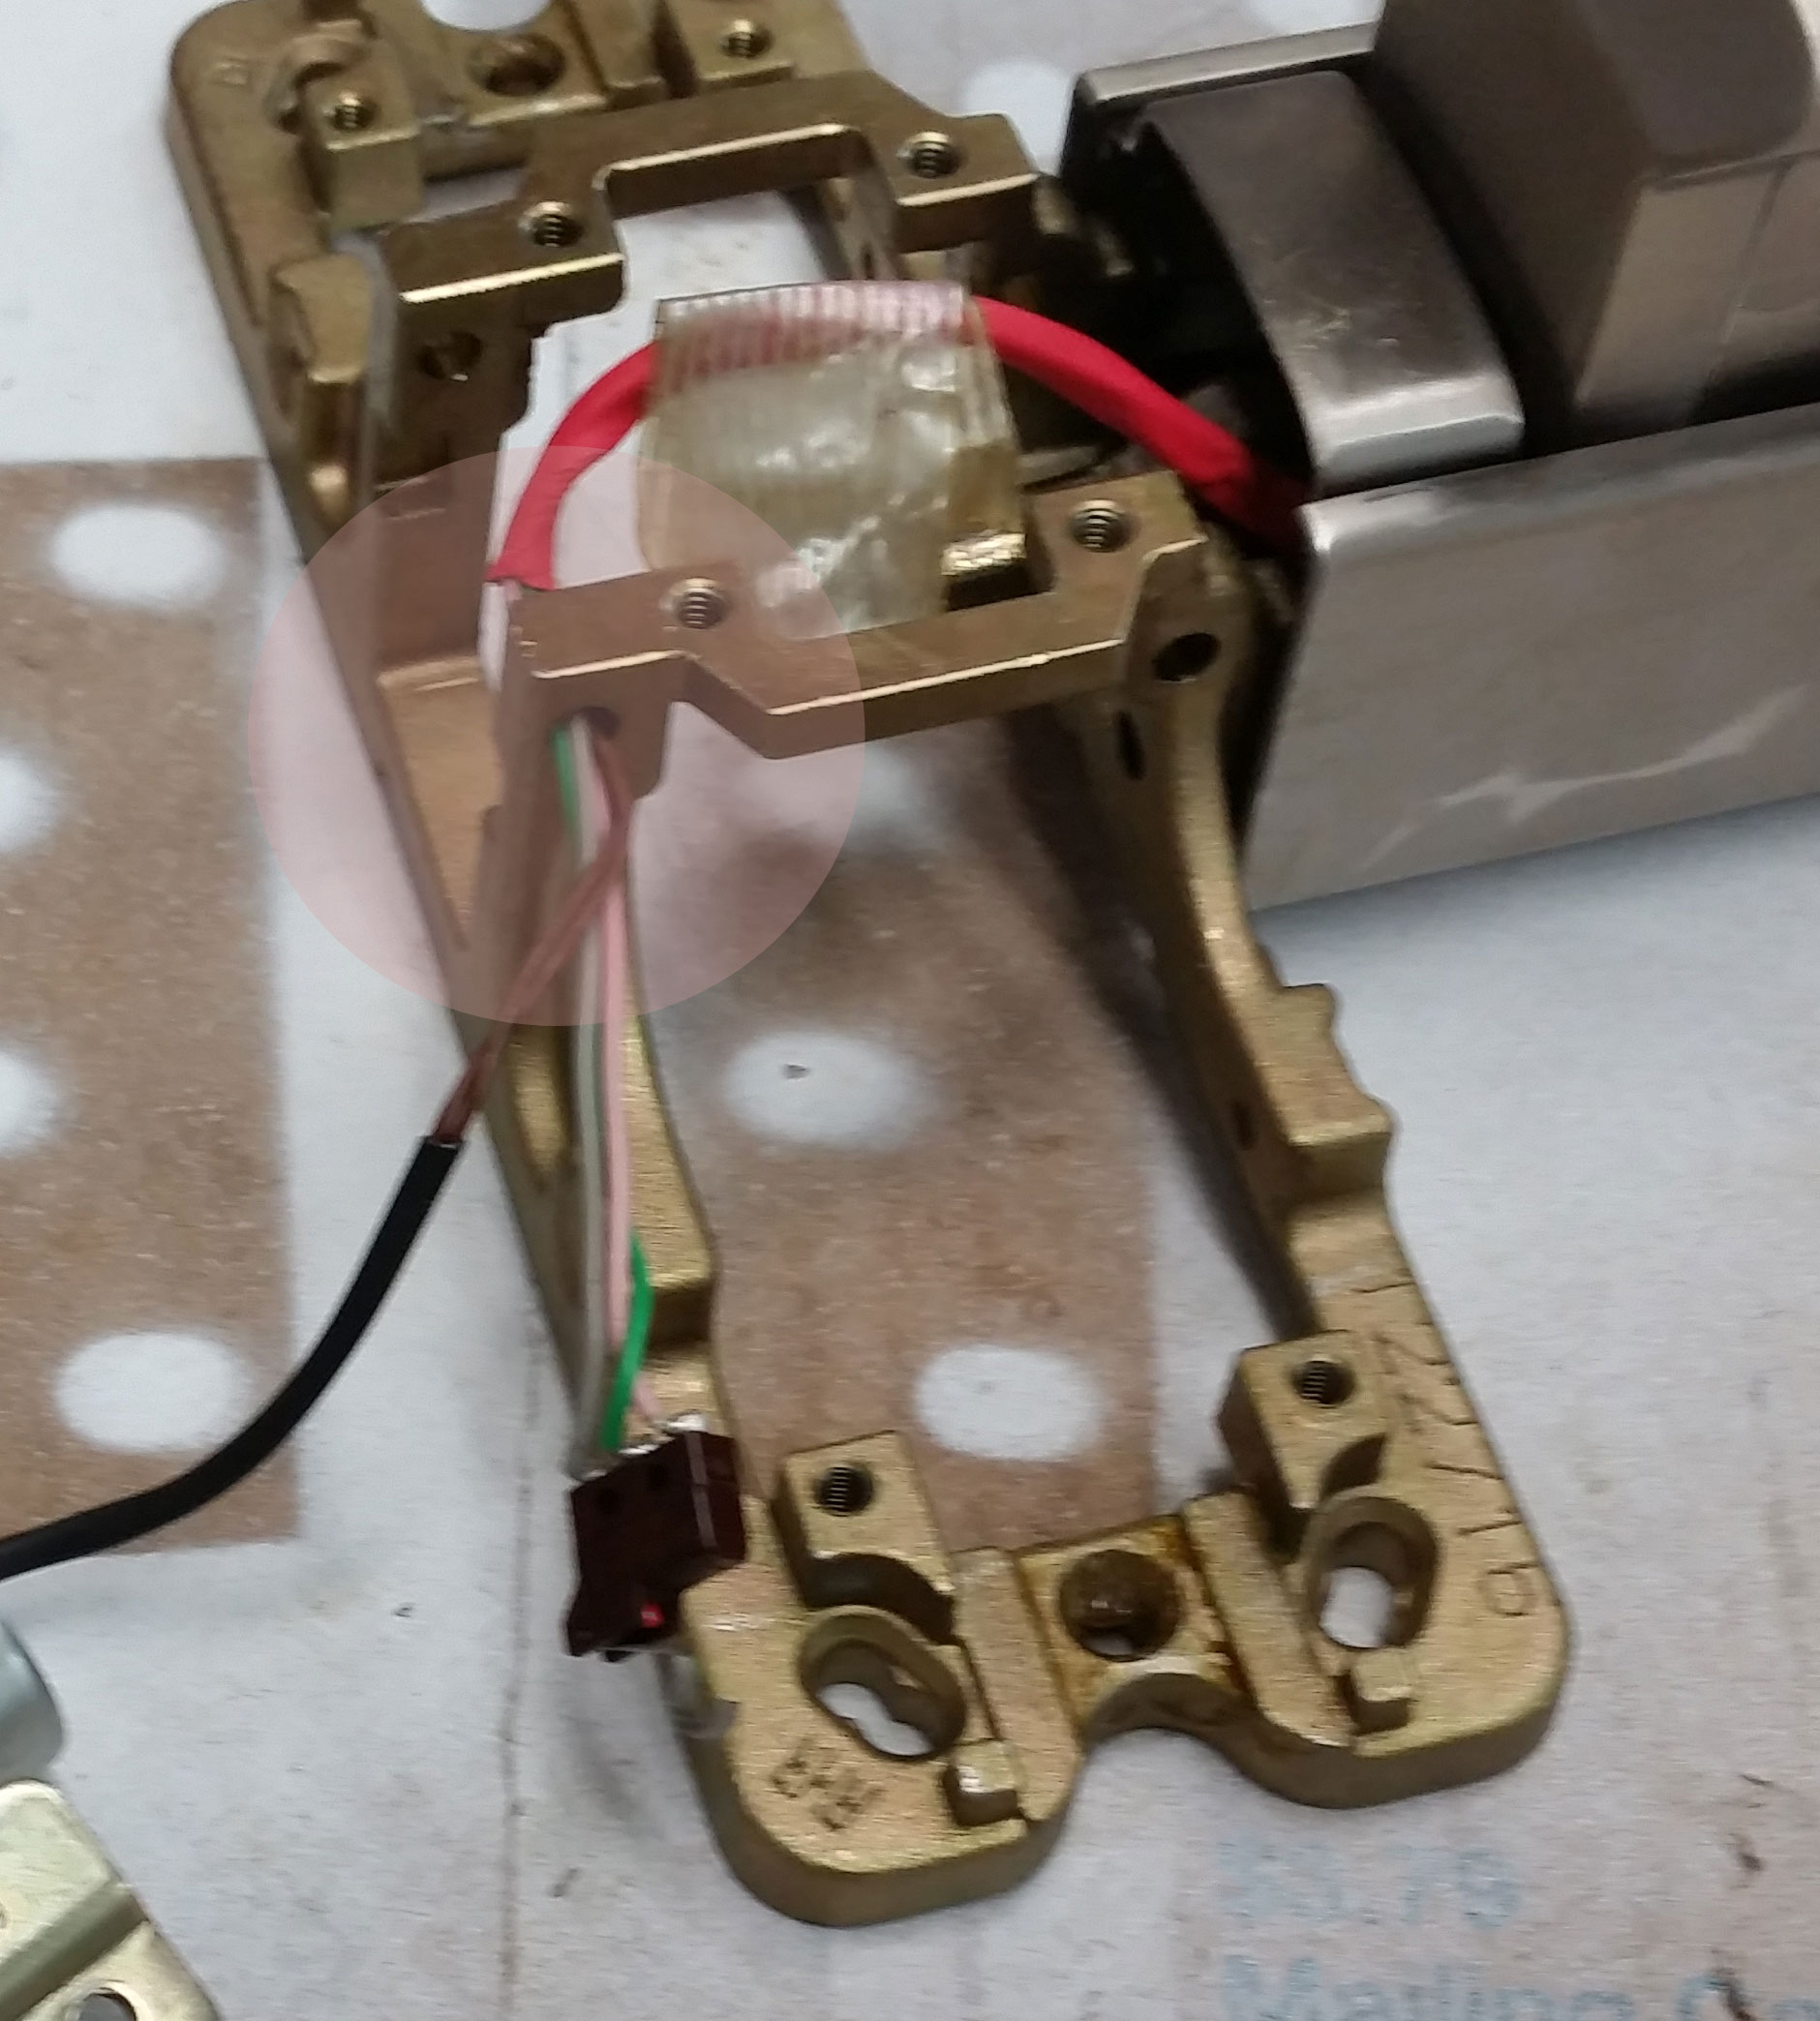
Monarch was bought by Ingersoll Rand and rebranded under the Falcon line of products, now part of Allegion. During these transitions the trims changed part numbers two or maybe three times. Check with your favorite hardware genius as to whether the trim you have will work with the device you need.

The lesson here is not to judge by appearances. The new Von Duprin 33 looks a lot like the old one and the Precision 2000 looks just like the 1000 series. To avoid expensive mistakes, pull the device off the door and positively identify it before you write your estimate.

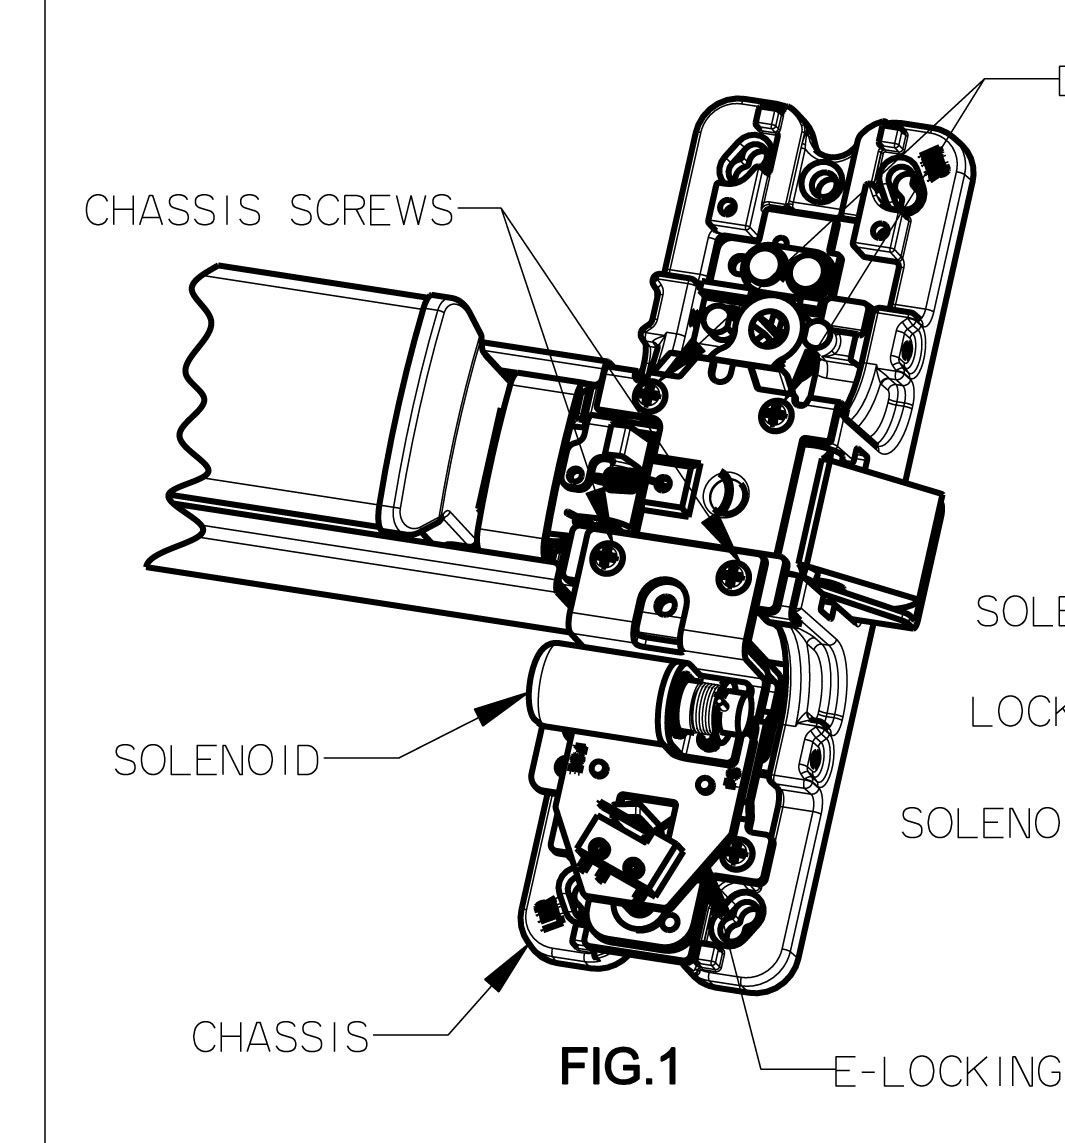
Both Doromatic and Jackson responded to the need to replace crossbar devices with touch bar devices by creating touch bar versions that fit the same footprint as their crossbar predecessors. The Doromatic 1690 and 1790 devices replace the 1990 and 2090, and the Jackson 2085 and 2095 replace the 1085 and 1095 devices with very little trouble. A big bonus is that a in the case of the 2085 Jackson and the 1690 Doromatic concealed vertical rod devices, you can reuse the exiting concealed vertical rods.


Knowing what you have is the key to knowing what you want.


locksnsafescom

Your source for quality security products with superior service!

Field Reversing the Precision E2203 SVR Exit Device

The Precision E2203 is a Surface Vertical Rod exit device with a solenoid in the head that controls the outside lever trim.  Ordered complete with trim: part number is E2203 × 4908A, specify door width, finish, handing, fail safe or fail secure.  The right thing to do is to order it fail safe or fail secure and handed at the factory for your application. 

But… let’s say for the sake of this article that you ordered the device and did not specify handing or fail safe / fail secure. You might find yourself needing to field reverse the handing.  Here is what you need to know.

Handing

Changing the hand on the basic 2200 device is not very difficult, but changing the hand on the E2200 is fairly difficult, and requires skill, patience and … tape.
For the non-electric, purely mechanical version of this device, changing the hand is not as simple as it is with some other exit devices, for example, flipping the device over, but it is not all that hard to do.  Below are the directions for field handing excerpted from the 2200 Series installation instructions from the Stanley Precision web site.   Why they have arranged the steps to be followed in counterclockwise order is a mystery to me, but I am not here to judge, just inform.

At a glance you can see that there is some disassembly of the exit device head required to change the handing of the device. But when you add electrified trim control it complicates things a bit.

In the photo below you see the wires for the solenoid where they pass through the hole in the bracket.  That bracket is an integral part of the active head and it does not move.  However, the solenoid must be installed at the other end of the active head in order to interface with the working parts of the device and the wires are just long enough to allow it to be installed where it is.  There is no play in the wire that would allow the wire to remain where it is and yet allow one to move the solenoid.


In order to move the solenoid to the other side of the active head, one must either cut the wires (a nightmare, do not do it) or to completely disassemble the exit device, bar and all.

Why do you have to completely disassemble the exit device to pull the wire through?  Because it is taped to the baseplate of with a piece of filament tape that runs the length of the bar.  The tape must be removed to free the wire so you can pull it out through the hole in the bracket.

I could not find the directions for changing the hand of the E2203, but here is a drawing of the solenoid placement for the E2103 rim exit device taken from the installation instructions from the E2103 Kit.


Once you have pulled the wire through the hole, changed the hand of the head, taped the wire back down the length of the bar baseplate and reassembled the device, you’re done.

Below is a picture of the E2203 with handing freshly changed and the device reassembled and ready to install.


Like I said: order it fail safe or fail secure… AND ORDER IT HANDED.


locksnsafescom

Your source for quality security products with superior service!

Compatibility Issues

What’s wrong with this picture?

When specifying door hardware I understand that it can be like being an kid in a candy store.  But like that kid, you may not be able to always get everything you want.   Sometimes “this” might not go with “that.” There are some examples that should be obvious, such as fire rated exit devices with cylinder dogging, since fire rated exit devices must positively latch each time they close without exception and any kind of dogging could prevent that.  But other combinations of options are less obviously incompatible.

One elusive combination of exit device options that pops up sometimes is delayed egress with electric latch retraction.  In most electric exit devices this is almost a contradiction in terms because they use the same mechanism for delayed egress as they do for electric latch retraction, except it works the opposite way.  For example, the Von Duprin Chexit uses the same kind of motor that the Von Duprin EL devices use, except that the Chexit motor pushes out on the latch mechanism while the EL motor pulls in.  What would be necessary I guess would be to build a little transmission so one could shift gears from push to pull to switch from delayed egress to electric latch retraction and back again.

But since no one has yet invented this miniature transmission neither the Sargent Electroguard nor the Von Duprin Chexit currently offer both delayed egress and electric latch retraction in the same device.  The only device I have encountered so far that does offer these two options together in the same device is Detex.  There could be others.  Check with individual factories to be sure.

Two options that are offered together in many, but not all exit devices, with varying degrees of availability, are cylinder dogging and electric latch retraction.   For example, Sargent offers cylinder dogging with electric latch retraction, but only when factory installed.   Von Duprin offers “Special Dogging” (SD prefix) with electric latch retraction.  In this case the effect of cylinder dogging is accomplished by a cylinder operated latch holdback feature in the center case of the device.  (Not quite the same as traditional cylinder dogging.)  Precision can offer cylinder dogging and electric latch retraction in the same device without complication because their electric latch retraction and cylinder dogging mechanisms happen in different sections of the rail altogether.  Corbin and Yale offer devices with cylinder dogging and electric latch retraction in the same device.   Yes, the electric latch retraction and cylinder dogging combo is all over the charts when it comes to availability.


As in all facets of life, when in doubt, contact your friendly door hardware genius.


locksnsafescom

Your source for quality security products with superior service!

Experiencing the New Von Duprin Chexit

Chexit door label from Chexit installation instructions.

Von Duprin Chexit door label from Chexit installation instructions.

Last year Von Duprin began shipping Chexit self-contained delayed egress exit devices that are motorized instead of solenoid driven.  Since they are motorized, the new Chexits draw less current and will probably be more reliable than the previous solenoid-driven version. This means a less serious, less expensive power supply, less need for high capacity, high gauge, high cost wire and greatly increased workable wire run distances – all good things.

The new Chexit will do everything the old Chexit did, including release of the outside lever trim when the external inhibit function is activated by access control or another external switch.  That remains a way to get access control out of a Chexit by simply adding a blank escutcheon or other unlocked outside trim to the Chexit exit device.

As of this writing Exit-only function Chexit devices were being shipped less the part number 040193-00 cable used to connect the E996L to the Chexit PC board.  The cables are only provided if you order the Chexit from the factory with trim, but that is okay as long as you want to use no trim or non-electric trim.  Electrified trim is a means to provide fail secure access control from the trim side, so if the fire alarm goes off and powers down the Chexit, the fail secure electrified trim will stay locked.  Entry can still be gained by key.

On another note, recently I was involved in an application where the installer was replacing a mortise exit device and wanted delayed egress from the push side and free ingress from the pull side.  Luckily it was a mortise device, so all I had to do was provide a Chexit mortise exit device with blank escutcheon (passage function) trim because THE MORTISE LOCK ACTS INDEPENDENTLY FROM THE CHEXIT ON THE TRIM SIDE. Cool. 🙂

Bear in mind that  the Chexit remains active while people are using the passage function trim to get in, so if they happen to depress the touch bar, say by bumping it up against the wall for two seconds, they may activate the Chexit alarm.   Von Duprin Tech Support suggested a palm switch on the trim side to activate the inhibit circuit in the Chexit while a person enters from that side.


It was fun, easy, and I looked like a … Hardware Genius.

What Is A Pullman Latch?

comparisonA Pullman latch is a type of exit device latch. The leading edge of a Pullman latch, the part that hits the strike first as the door closes, is a ramp.  The back of the latch, the part that rests against the strike to keep the door latched shut, is rounded.  When the Pullman latch comes into contact with another object it retracts automatically.  It is a simple, spring-loaded mechanism.

Some rim exit devices have Pullman latches, but most concealed and surface vertical rod exit devices do not.  Most vertical rod exit devices have a main latch that is shaped like a Pullman latch but also has an additional piece that looks like a kind of separate little latch, or auxiliary deadlatch.  This part interacts with the mechanism of the latch to keep the top latch retracted until this separate piece hits the strike as the door closes.  Then the main latch pops out and locks into the strike.

Latch release extended position.

Latch release extended position.

This latch-and-release design top latch is used by many manufacturers as the mechanism that holds both top and bottom latches in the retracted position while the door is open. That way the latches do not make contact with the surfaces of the door frame, floor or threshold.  When the top latch release makes contact with the strike it releases both top and bottom latches.

The photo to the left shows the latch release fully extended and the latch fully retracted.  This is the state that this type of latch is in when the door is open.

The Pullman latch is most often used with less-bottom-rod (A.K.A. top rod only) vertical rod exit devices when they are to be used with an electric strike.  The normal latch-and-release design is incompatible with most (if not all) electric strikes. Electric strikes that are compatible with Pullman latches are said to have Pullman keepers.

Sometimes Pullman latches are used as the top and bottom latches on vertical rod exit devices because they operate more quietly than standard latches.

Pullman latches are not fire rated and are not for use with fire rated exit devices.

pullmanlatchandkeeper

Illustration of Pullman latch and Pullman keeper. Whereas the locking surfaces of electric strike keepers designed for use with cylindrical or mortise locks is perpendicular to the door frame, the Pullman keeper is at a 45 degree angle to the frame, creating an angled recess to accommodate the unique shape of the Pullman latch.


Quest for the 24-Inch Exit Device with Electric Latch Retraction

Yale7100I had a lot of fun recently trying to meet a customer’s requirement for a 4-foot by 7-foot pair of doors in a hospital that needed to be fire rated and automated.   I found that Corbin and Yale (sister companies whose exit devices are almost identical) offer fire rated surface vertical rod exit devices with electric latch retraction that meet this need.   The installer will be able to put some kind of little power operator on each 24-inch leaf of this four foot pair and cram two fire rated surface vertical rod devices onto these same narrow leaves.  Doubtless it will look odd, but it will work.

Admittedly the whole idea is a bit dubious.  True, by having both leaves opened simultaneously by power operators will provide amply more than the minimum 32-inch clearance demanded by the American Disabilities act, but if anyone manually opens either leaf it certainly will not.

Sargent and Von Duprin offer 24-inch fire rated exit devices, but neither offer them with electric latch retraction.   It is unfortunately necessary to call these companies’ tech support lines in order to verify this information, since their price lists both show 24-inch possibilities without disclaiming the electric latch retraction option.  Neither the Sargent nor the Von Duprin has a note to say the 24-inch device is not available with electric latch retraction that I could see; if that is in fact the case, the buyer is left to beware the exit device order that bounces back because it was ordered with options that are mutually incompatible.

It’s good advice anyway to always call the manufacturer’s tech support whenever there is a question.  Waiting on hold is a lot better than storing thousand-dollar exit devices that didn’t work out on the job.

Note:  A reader named Rick writes in with this about Sargent electric latch retraction:  “Tom, I just stumbled across your site this evening, while doing a search for Fail Secure mag locks of all things (IR says there is one).  But I saw your latest article on latch retraction units and had to clarify the Sargent restrictions. These can be found within the catalog pages, specifically the page showing the 56 option (toward the back). It says:

         MinimumDoorWidths:
              -Wide Stile Door 28″
              – Narrow Stile Door 26″
Thank you, Rick, for this bit of info.  I should add that it is always good to check all the literature at your disposal for any information you are looking for.  Some manufacturers have more detail in their price list than in their catalog, and others vice versa.  Thanks again.


The Double Door Rim Strike – A.K.A. “The Pocket Ripper”

pocketripperOne of the hallmarks of bad hardware choices is the “pocket ripper” strike, used on a pair of doors when there is an inactive leaf with flush bolts or a vertical rod exit device and an active leaf with a rim exit device. Whenever I see this I think, “Cheap bastard,” because the only reason for this half fast solution is money and the desire not to spend it on doing the job right.

This lovely piece of hardware earned the nickname, “pocket ripper,” but hanging into the opening at a convenient height to catch the front pocket of a pair of trousers, resulting in egregious damage to said pocket and colorful language on the part of the victim.

What is the right way to secure a pair of doors? Vertical rod exit devices are the best. My second choice would be a mortise exit device with an open back strike and a vertical rod exit device on the inactive leaf. My third choice would be a mortise exit device with flush bolts on the inactive leaf.

Below are a couple of examples of the ‘pocket ripper.’   On the left is the classic Von Duprin 1609 strike and on the right an example from Ingersoll Rand in Europe.  The European version looks like it has better manners.

In the center we have the Hager 4921 strike that really looks like it could take out more than just a pocket if you catch it the wrong way.

image001image002hager


In addition, I find that often the rim latch stops dead before latching on the strike.  Also, depending on how you install the rim device, the latch may drag across the edge of the other leaf, scraping an ugly divot over time.  Yes, all in all a hardware choice to be avoided if you can.


Securitech Trident Multi-Point Deadbolt Exit Lock

Trident 4-point deadlocking exit device.

Simple and robust design helps to ensure security and longevity; single motion egress ensures life safety code compliance.  

Simple to order and to install, the Trident offers excellent security while preserving life safety.

The first thing I noticed when I unpacked the box was the small number of parts.  The second thing I noticed was how well all of these parts are labelled.  As I read the installation instructions I was struck by how easy Securitech had made the installation process, especially with the inclusion of a metal template to help get everything lined up just right.

I assume that the Trident is named for the three active bolts that secure the door on the lock side, but with the inclusion of the passive hinge side bolt it is actually a four point lock.  The hinge side bolt slides passively into its keeper whenever the door is closed.

Trident is a heavy device, so before installing it, make sure your door swings and closes properly and the hinges are in good shape.  I suggest using hinges with non-removeable pins so as not to rely solely upon the Trident’s hinge side bolt.  A stainless steel continuous hinge would be even better for both security and durability, if it is possible to use one.

Every locking mechanism of the Trident is through-bolted through pry-resistant steel plates, so casual attack using a pry bar would likely be fruitless no matter how much time the would-be burglar might have.  Each locking bolt is substantial and housed in a very sturdy mechanism.  Bending one of them would be difficult; bending all of them enough to gain entry would be almost impossible.  The main outside plate is impressive-looking with its Securitech logo and satin stainless steel finish, and since it is through-bolted to the head of the device in several

Photo by Tom Rubenoff

places, it’s pretty strong, too.

The weakest part of any muli-point locking device is the door frame.  Fully grouted (concrete filled) hollow metal frames hold up the best under attack.  At the very least, to have real security measures must be taken to ensure that the door frame cannot be either pulled out of the wall or bent away from the locking bolts.

To maximize security, I suggest not using the optional exterior key control with this device.  The presence of a key cylinder outside provides a target for burglars.

The Trident comes standard with a paddle that tells the user to push to exit and alarm will sound, but since the alarm is optional, this may be an empty threat.  Be sure to order your Trident with an alarm if you want one.

I was impressed with the workmanship evident in how the Trident is put together.  Everything worked super-smoothly and fit together perfectly.  The strong, simple design looks like it will provide many years of flawless service.  I highly recommend it for the back doors of stores, warehouses or factories or anywhere where a higher level of security may be needed.

Securitech Lexi Electrified Exit Device Trim

Great Problem Solver

The Securitech Lexi series retrofit exit device trim is available with a variety of back plates and adapters that allow it to be used with most major brands, including many surface vertical rod and concealed vertical rod exit devices.  Compatibility with a variety of vertical rod devices is a major plus.

I mean, anybody can electrify a rim exit device by simply installing an electric strike.  However, while it is possible to install an electric strike on a vertical rod device it rarely brings a good result.  First of all, in order to use an electric strike you have to first lose the bottom rod.  That just leaves one latch at the top of the door to provide all the security.  If it is a tall door or a flexible door – like an aluminum storefront door – you can pull the bottom open several inches with just that top latch holding it.  Add a little time and a little hinge sag and pretty soon you have no security at all.

The other solution is electric latch retraction, or electric latch pullback, as some manufacturers call it:  relatively expensive compared with a Lexi trim.  Also, electric latch retraction is a fail secure only solution when locking trim is used and therefore may be inapplicable to fail safe installs such as stairwells, unless passage function (always unlocked) trims are used.

I notice that right out of the box the Lexi is very self contained.  Other than a tiny box containing mounting screws, tailpiece operators, and a cylinder collar and cam, what you see is pretty much what you get.  It’s pretty hefty for its size – it is designed on the slim side so as to be usable on narrow stile as well as hollow metal or wood doors.   This does mean that the installer may have to be a little creative when replacing a larger exit device trim with the Lexi.

Installation instructions are easy to follow and short – only four pages, including the template. Something I would have liked to see in the instructions, but didn’t, was current draw.  If I am installing one of these, the number of amps it draws are not going to matter much to me.  But if I am installing twenty of them and want a centralized power source, now it’s an issue.  Yet it isn’t anything that an experienced low voltage specialist with a ammeter can’t find out in two seconds.

One of the great innovations I noticed right away is the rotation restriction clip that allows the installer to customize tailpiece rotation to the exit device.  I do not think that this is handled better by any other manufacturer.  Correct degree of rotation often determines whether a trim will work or not, and to have a trim that has degree of rotation so easily selectable is damn nice.

As mentioned in the sales literature, since Securitech’s Lexi trim is compatible with so many exit devices, if you have a facility with different brands of exit devices dispersed throughout, you can install access control and unify the exterior appearance at the same time.  And in addition to being versatile it is also durable.  Forcing the lever only causes its internal clutch to break away, and it can easily be set right by rotating it back the other way.

All in all the Securitech Lexi trim seems to be a well built, versatile problem solver.  I think you’ll find it useful in many access control installations.

Multi-function Doorways, Part One

As seen in Doors and Hardware Magazine.

Whenever something is invented, humans find more uses for it.  This is certainly true for door automation and electric locking.  It was not long after people realized a door could be unlocked remotely using an electric strike and a door could be opened automatically using a power operator (automatic door opener) that they began using these devices together.   Of course this combination of devices was soon interfaced with intercoms.  Exit devices with electric latch retraction and electromagnetic locks were thrown into the mix, as well as access control, delayed egress and/or security interlock systems.  Any of these systems alone is sufficient to complicate an installation, but when you start to use several on one opening, that’s when things really start to get interesting.

A hospital can be one of the best places to run into a doorway that needs to perform many functions (pun intended).  Hospitals seem to have more varied reasons to keep different people out at different times, or to let them in or out by different means.  In addition to standard life safety and security issues, hospitals also have to anticipate the needs of patients who may be under the influence of medication and/or mental disorders and/or have physical limitations.  Some patients must be kept inside for their own safety while all patients must be able to exit swiftly and safely in the event of a fire.

Let’s use as an example a hospital emergency ward entrance used primarily by ambulance drivers.  The hospital wants only ambulance personnel and the security guard  to be able to activate the power operator, and to control access by use of a remote switch operated by the security guard  for the general public and an access code by hospital employees (other than ambulance personnel).

Since it is a pair of doors, concealed vertical rod exit devices are the most efficient, safe and secure way to lock them and provide reliable free egress in the event of an emergency.  However, since there is a power operator involved, these devices must be equipped with electric latch retraction; and since use of the power operator was to be limited, a second electric means of opening the door would be required.

A simple way to solve the problem of the second means of unlocking is by using electrified exit device lever trim with one of the concealed vertical rod exit devices.  Persons not requiring the power operator can get in by using the access control, or the security guard  can “buzz” them in using one of two remote buttons.  Because there will be two means of unlocking the door electrically, the security guard  will need a small desk unit with two buttons:  one that activates the power operator and electric latch retraction and one that activates the electric exit device trim.

Below is an amateur wiring diagram (made by me) of how, basically, the system works.

Central to the concept is an access control device with two relays and a request to exit input.  This allows several of the connections to be made through the access control system.  If the access control system on site does not provide more than one relay, the same functions can be accomplished by using additional relays in the power supply.

The system as shown in my illustration above works like this:

Ambulance personnel activate the power operator using the access control system.  The access control system signals the power operator via contact closure in Relay #1.  The power operator triggers the relay in the power supply to retract the latches of the exit devices, then opens the door.

Other authorized hospital personnel use the access control system to unlock the lever trim.  The access control system changes the state of Relay #2, triggering the relay in the power supply to unlock the trim.  They turn the lever, pull the door open and walk in.

Injured people arrive on foot at the Emergency Room entrance.  The Security Guard sees them (or is notified by intercom, not shown) and lets them in by pressing the red button, activating the power operator, or by pressing the green button that unlocks the exit device trim.

There exist many possible variations of this system.  Knowledge of access control systems and door hardware are required, but the most important principal in play is the use of contact closure to signal multiple devices.


Tags