Definition
Basically:
- Fail Safe = power off, it’s unlocked
- Fail Secure = power off, it’s locked
Electric locking devices include:
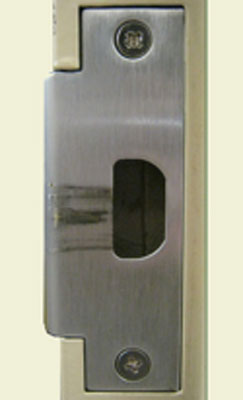
- Electric strikes
- Electromagnetic locks
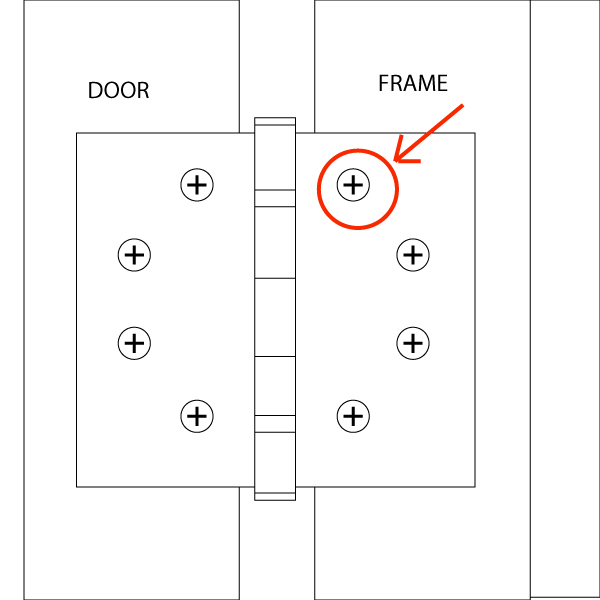
- Electromechanical locks
- Electrified exit devices
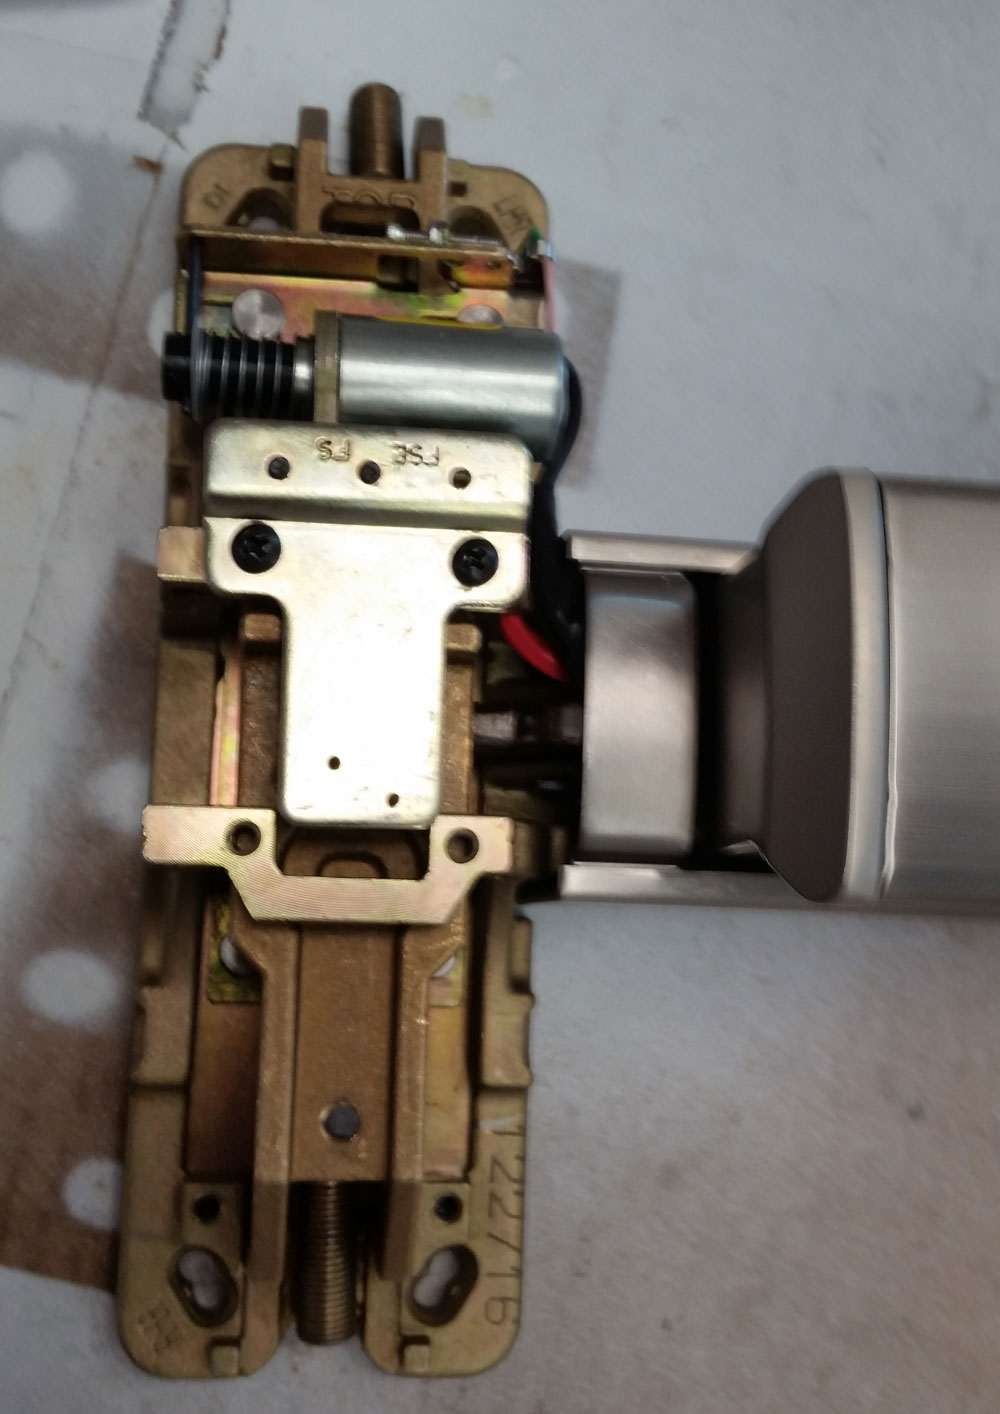
Most electric strikes are sold fail secure by default. For example,
if you order a Von Duprin 6123 24V US32D, and architectural grade 1
electric strike, it will most likely come fail secure regardless if
it has Von Duprin’s “FSE” (standing for fail secure) in the part number
or not. The part number in the Von Duprin price book does not include
“FSE.” To be sure you are going to get a fail safe electric strike (not
the norm) if that is indeed what you want, in this instance you would
include Von Duprin’s abbreviation for fail safe, “FS”, for example,
6123 -24V-FS-US32D.
All electromagnetic locks are fail safe because they are always
unlocked when disconnected from the power source. Using a battery
back-up does not make an electromagnetic lock fail secure because
the magnet would still be unlocked if the power was disconnected.
Later in this article it should become apparent why this detail
is important for reasons of life safety.
Electromechanical locks include standard cylindrical or mortise
locks that have been electrified and locks that are designed to
only work electrically, such as an electric bolt lock. They are
sold in equal amounts fail safe and fail secure.
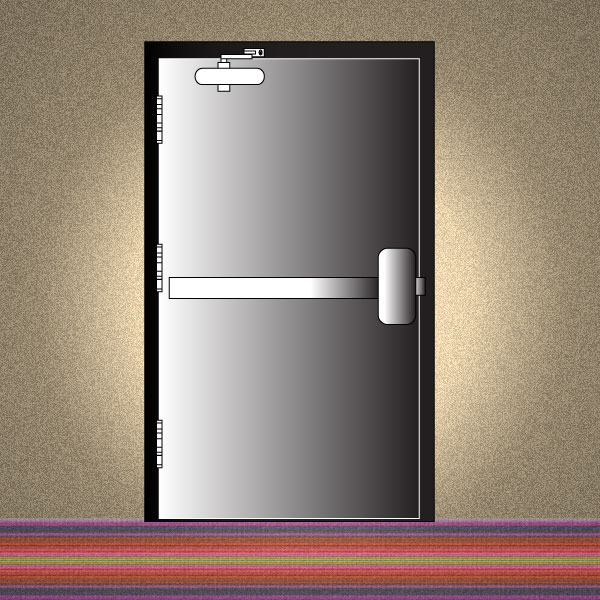
Electrified exit devices come in a variety of functions, including
those with electric latch retraction and those with electrified outside
trim control. Electric latch retraction devices are fail secure whereas
exit devices with electrified exterior trim control might be either
fail safe or fail secure.
Application
Electric Strikes
Fail safe electric locking devices are used wherever doors must remain
unlocked in the event of a fire or other life safety emergency. If
the opening is fire rated, it must be positively latched by a fire
rated device in the event of a fire. Therefore there is no such thing
as a fire rated fail safe electric strike because if the power were
off (as it might very well be during a fire) the door would not be
positively latched. If you install a fail safe electric strike on
a fire rated opening, the inspector can require you to replace the
entire doorframe.
Technically, fire rated door frames cannot be modified in the field,
but must be prepared for hardware (including architectural grade electrified
hardware) in a fire rated shop. I have never heard of this being enforced,
nevertheless, the AHD (Authority Having Jurisdiction) could enforce
it, so if you plan to modify a fire rated opening in any way it might
be a good idea to get the local fire marshal on board during the planning
stages.
In general, a fail safe electric strike is a good choice for a “non-fire-rated
door that must be unlocked in the event of an emergency other than
a fire” kind of application.
Fail secure electric strikes are a good choice for exterior or other
non-fire-rated doors where remote release or electronic access control
is needed. They are pretty reliable, usually not difficult to install,
and relatively inexpensive. One of the chief disadvantages of an electric
strike is that, on out-swinging doors, they provide an opening into
which a burglar can insert a tool, such as a tire iron, to pry directly
on the locking device. A latch guard is a minimally effective deterrent
to this kind of attack.
(Exterior doors are almost never fire rated, and if they are, usually
it is because all the doors on the job were ordered to the same spec,
not because they have to be.)
Electromagnetic Locks
Some inspectors and fire marshals just don’t like electromagnetic
locks. This is another reason to get your local AHD on board from
the start. But if your AHD is not an obstacle, a mag can be a good
solution for existing fire rated doors with existing fire rated hardware
on them. The fire rated hardware can stay to keep the door positively
latched in the event of a fire, and the mag is inherently fail safe,
so it could be a good choice for stairwell doors, greatly simplifying
the application. The problem with mag locks is that they lock both
sides of the door simultaneously. That means you have to deal with
both a means to get in (access control) and a means to get out (presence
detector and redundant exit pushbutton, for example).
If the door already has an exit device, it is probably possible to
install a request-to-exit (RX) switch in the bar to allow exit by
a fully mechanical means – a factor which might make the AHD happier
with the installation. The AHD will also want to know that all electromagnetic
locks are wired so that the fire alarm will cut power to them in the
event of a fire.
Since a mag lock does not positively latch, it cannot be legally
used alone on a fire rated door. There must be a fire rated positively
latching mechanism in addition to the mag.
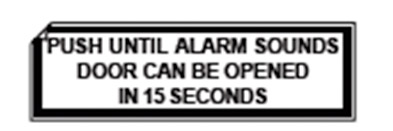
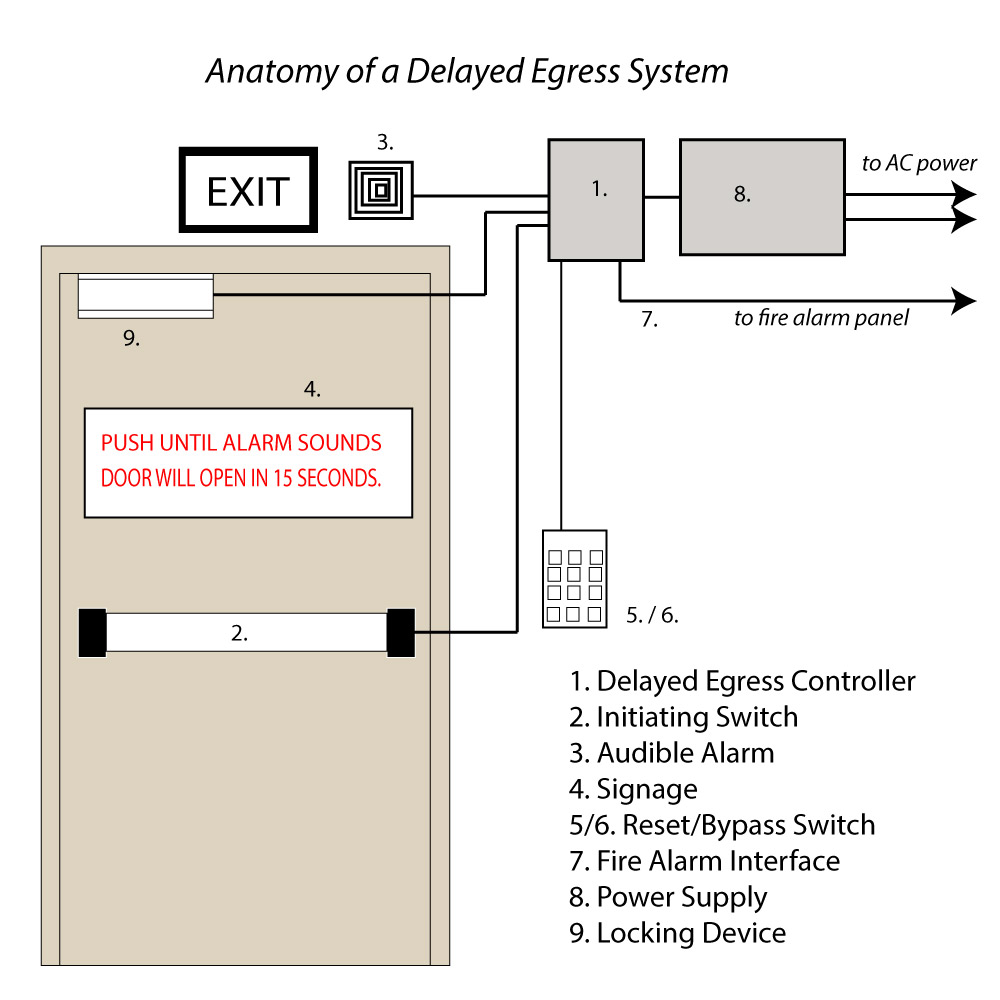
Delayed egress electromagnetic locks can also be used for access
control on egress doors while helping to prevent unauthorized exit.
For more information on delayed egress, please visit:
Electromagnetic locks are not too expensive and are very easy to
install. Because they are inherently fail safe, you may want to install
a battery back-up system so that they remain locked during routine
power outages.
Electromechanical Locks
Fail safe electrified standard locks are ideal for stairwell doors
(unless they already have exit devices) because they remain positively
latched when unlocked. Many states and localities require that stairwell
doors be unlocked in the event of a fire, and because all interior
stairwell doors are fire rated, they must also remain positively latched.
In order to replace a standard mechanical lock with an electrified
one, a raceway must be drilled through the door from lock side to
hinge side so that wire can be run to power the lock. If you guessed
that, technically speaking, this voids the fire rating on a fire rated
door, you were correct. Be sure to clear all modifications to fire
rated openings in advance with the local AHD.
Electric bolts are usually used as a last resort when no other application
will work, such as when retrofitting access control to automatic sliding
doors. Electric bolts are most commonly used in prisons, where egress
concerns are treated rather differently than commercial applications.
They can also be used in place of electromagnetic locks, however electric
bolts designed for commercial (rather than detention) applications
are less secure, less durable and more difficult to install than mag
locks.
Electrified Exit Devices
If a door has an existing exit device or an architect has specified
an exit device for an opening, it is because the capacity of the building
in terms of the number of people therein warrants the use of an exit
device. Therefore it is unwise to replace an exit device with another
kind of hardware.
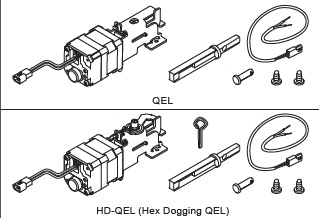
Luckily, many exit devices can be electrified in the field either
by replacing internal parts of the device or by adding an electrified
trim (outside handle or lever).
As I mentioned earlier, exit devices can be electrified in one of
two ways:
- Electric latch retraction
- Electrified outside trim
Since electric latch retraction is always fail secure, it might not
be a good choice for stairwell doors unless it was always unlocked
from the stairwell side. If that were the case, the only probable
purpose for the electric latch retraction would be to unlatch the
door for a power operator (automatic door opener).
Electric latch retraction is ideal on exterior pairs of doors where
fail secure access control is required. Since exterior pairs of doors
are often equipped with concealed vertical rod exit devices, installing
electric latch retraction is often the easiest and best alternative.
Electric latch retraction (or electric remote dogging) is also very
compatible for use with power operators.
The down side of electric latch retraction, in addition to being
expensive in its own right, is that it often requires a special and
expensive power supply. Sargent 56 prefix exit devices are an exception,
requiring only a minimal power supply for activation.
Fail safe electrified exit device trim is a good alternative for
stairwell doors whether they already have an exit device or not. For
one thing, since the wire powering the trim is run through the exit
device, no modification of the fire rated door is necessary.
Electrified exit device trim is also available fail secure, and is
often a less expensive alternative to electric latch retraction where
simple access control is the goal.
Note on “Continuous Duty”
I have been asked, ‘What is the difference between fail safe and
continuous duty?’ Fail safe applies to the function of the device
as described above whereas continuous duty simply means the strike
is built to be constantly powered if so required. The confusion arises,
I think, because all fail safe locking devices are continuous duty.
This is because a fail safe device must have power to be locked. Fail
secure electric strikes that are connected to a timer and powered
all day to remain unlocked also must be continuous duty rated. Therefore,
not all continuous duty electric strikes are fail safe, but all fail
safe strikes are continuous duty.
Rule of thumb: almost every kind of electric locking device that
runs on DC current is continuous duty.